
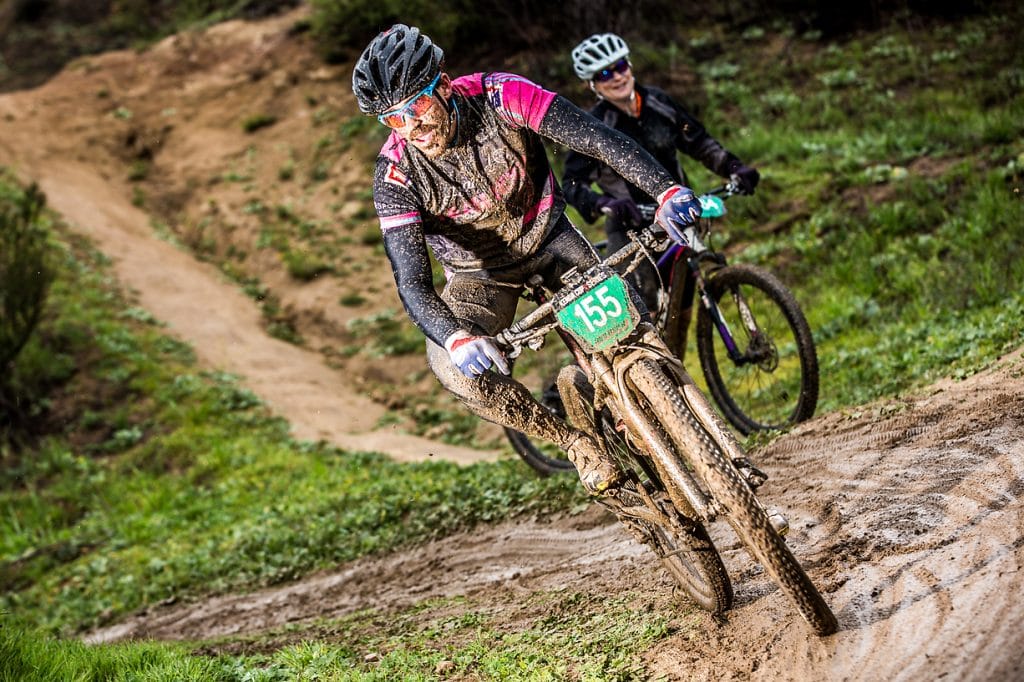
7 Steps to Riding In Wet Conditions
We’ve officially entered one of our favorite seasons… the birds are chirping, the days are longer, and, depending on where you are, you might be seeing the ground for the first time in months. The good news: it’s time to get back on your bike. The bad news: the weather can be finicky. But your ride plans don’t have to be foiled from a little pesky H2O. Follow these 7 steps to ride the wet with maximum fun and minimal damage to the trails and your gear, plus the added bonus of boosting your skills on the bike.
Check yourself
It doesn’t matter how much pep you’ve mustered to head out for a soggy excursion, you need to determine how the trails hold up to being ridden in wet conditions. Some trails are built to withstand it with excellent drainage – these generally have rocky or loamy surfaces. Other soil types will absorb water turning into mud pits that become giant, double track bogs. When it eventually dries out the results are deep, ruts – AKA a trail builder’s worst nightmare that will take countless hours to repair. Learn more about reading the dirt here.
Yes, that’s a lot of variables. If you’re not sure, check with your trail advocacy group or swing by your local bike shop to gather trail beta and load up on any last-minute gear you might need.
1. Gear up
You’ve heard it before: there’s no such thing as bad weather, just bad gear. Invest in a quality rain jacket that rides the line between water resistant and windproof while still being breathable. Layer up with a few thin layers that you can peel off on the climbs and put back on for chilly descents. As with cold-weather riding, if you’re warm hanging out in the parking lot getting ready to roll out, you’re probably wearing too much.
We get it – rain jackets are expensive. If you go without one, just keep in mind that your layers will hold water, get heavy, and drag you down so less is more in that case!
Do you live in a place where you ride in the wet regularly? It might be worth adding waterproof shorts or pants, shoes, and gloves to your gear closet to keep you more comfortable.
Hacks:
- A rain fly for your pack will protect your necessities and is much easier to clean than your pack
- Put your phone in a sealable sandwich bag to protect it from the elements. You’ll still be able to use the touch screen to navigate
2. Keep it clear
Many trail helmets nowadays have visors that will shield some of the rain from hitting your glasses (we love Rudy Project’s Protera helmet). Pack a sunglasses wipe and try riding without them for the climb to keep them fog- and rain-free saving the best visibility for when you need it most – the way down. Anti-fog products like Rain-X work wonders if you’re struggling to keep the steam and fog at bay, but it usually clears up when you get moving and have some air flow.
3. Protect your bike
Fender – A fender is key for keeping most of the slop out of your face and eyes. It also protects your fork seals increasing the time between fork services and improving the life of your shock. Ground Keeper Fenders has some wild designs to accessorize your rig and it’s low-profile enough to install once and run year around.
Lube – Use a thick chain lubricant. A thin chain lube can wash away rather quickly, but a thicker one will stay put, even when coated in mud. They’re usually clearly marked for the conditions they’re designed for so there’s no need for guesswork or in-store sampling!
4. Perfect your bike
Slow down your rebound speed slightly to lower your chance of slipping on obstacles. Lower your tire pressure by by 2 to 3 PSI to increase grip, confidence, and control. The bigger your tire contact patch (or your bike’s footprint) the more it can conform with the trail and obstacles to give you much-needed grip in the slick.
Tire selection – there are two schools of thought:
- Option 1: Ride a wide, aggressive tire that can grab the terrain (while shedding mud). If you have narrow chain/seat stays (and/or fork), the mud can build up between your tire and the stay eventually slowing you down to a halt. If you have plenty of clearance, this is a good option.
- Option 2: Skinny is better (1.95 or 1.75). The idea is that the skinny tire can cut through the mud and find some terrain to connect with. Also, this provides for good clearance between your chain/seat stays thus less mud build up.
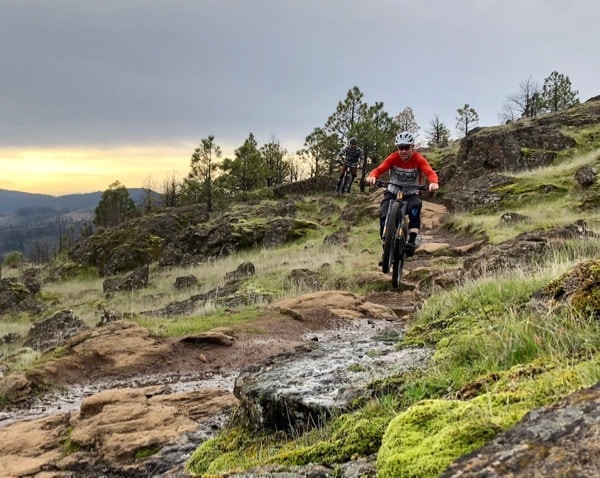
5. Slow your roll
Riding in slippery conditions will be more challenging so dial back your speed to focus on how your bike handles on the varying dirt conditions and obstacles. You’ll be improving balance, control and bike handling skills, plus those “Oh sh*t” moments will teach you how to recover. You’ll need to adjust your center of gravity to maintain traction which will boost your dry-weather technical riding, too!
 Navigate obstacles with your bike upright and ride directly at them at a 90 degree angle (think about making your bike “T” with a root and not “Y”). OR avoid the slip factor altogether with a front wheel lift or bunny hop! Brake a bit early before corners because brake pads will not be as responsive as in dry conditions.
When it comes to puddles or extra soft spots in the trail, ride through them and not around them to avoid widening the trail (and the puddle or hole). If you’re running into them frequently, it’s probably best to avoid that particular trail when it’s wet since there are drainage issues.
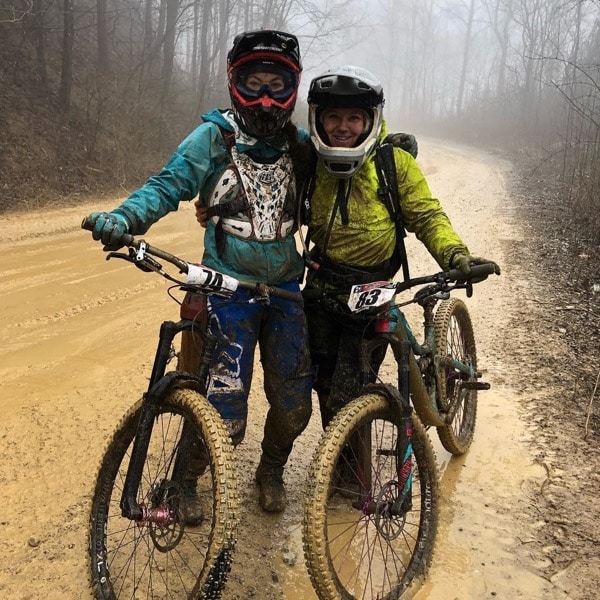
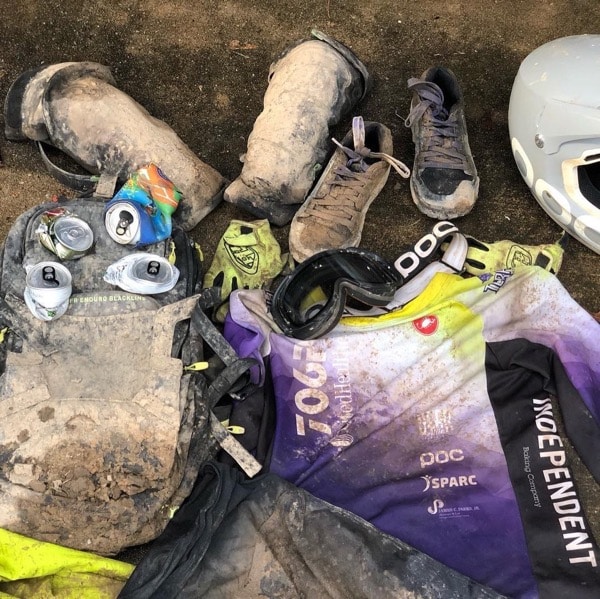
6. Peel it off
If you’re not prepared with a towel and change of clothes then it’s going to be a long, dismal drive back home! For an extra-cush experience, keep a changing mat in your car to stand on in the parking lot as you swap your nasty gear for the fresh stuff and use a trash bag or reusable shopping bag to keep the dirty bits contained until you get to a hose.
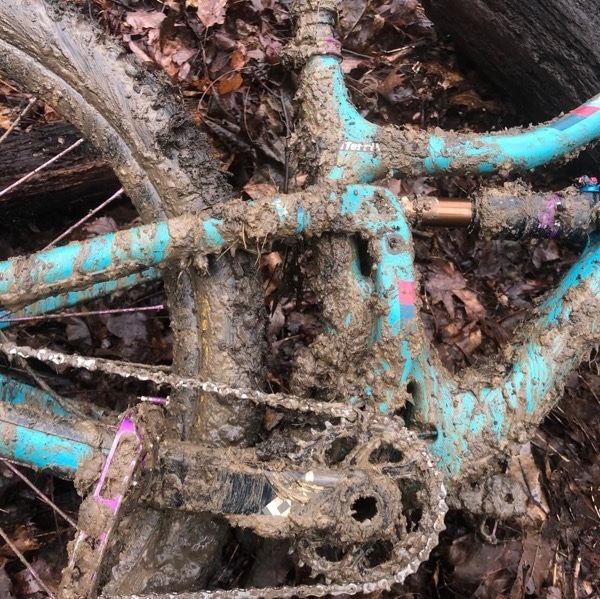
7. Ride, rinse, repeat
Clean your bike as soon as possible after your ride with a soft brush to get the majority of the debris off. Be careful not to spray water directly into any part of your bike that has a bearing (bottom bracket, steering tube, hubs) or your fork because it can damage bearings (even sealed ones). Always lubricate your bike directly after cleaning it. When you’re ready for a deep clean, check out our tips to wash your bike.
Same goes for your gear. Be sure to rinse the grime off your kit and throw it straight in the wash or you’ll risk having the dirt set in for a whole new shade of “ochre” or “cocoa” (although those colors are on trend this year!). Hose down your helmet, pads, and shoes. Remove your shoe insoles and stuff them with newspaper to speed up the drying process and minimize the soggy stink that can set in.
Extra Credit
How about #8, sign up for some spring trail maintenance days? This time of year they are hugely important and serve as the best way to educate riders on how to be good trail users and stewards. They will also learn the how to best decide when to ride and when to stay home (or do a trail walk and clean up deadfall, spot drainage problems, and any other light work that is permitted).
An excellent addition from Doug in the comment section


How about #8, sign up for some spring trail maintenance days? This time of year they are hugely important and serve as the best way to educate riders on how to be good trail users and stewards. They will also learn the how to best decide when to ride and when to stay home (or do a trail walk and clean up deadfall, spot drainage problems, and any other light work that is permitted).
That’s excellent advice, Doug. What better way to understand how much work and how many hours it takes to build and maintain all those miles of singletrack we love so much?! Here’s an article about digging in and giving back: http://ridelikeaninja.com/2018/11/14/6-unexpected-ways-to-find-your-flow/ and I agree, it belongs here, too!
Every trail and local recreation agency in N.A. asks that riders avoid muddy trails. This set of Ninja Skillz is whacked unless you live in the U.K. If people are getting this muddy riding they need to stay off the trails. Irresponsible. I ride year round and never get this muddy.
I agree. As someone who does help with building and maintaining trails, stay off when wet!! Hit the road instead! Or ride on gravel bike paths. But stay off trails.