
Creek Crossings – 9 Tips For Staying Safe & Dry
If you’re like me, you never gave up stomping through puddles on a rainy day. Fast-forward a few decades and now we get to trade our galoshes for bike tires. Creeks, brooks, rivers, or streams… every moving body of water poses an exciting challenge on your mountain bike and a chance to experience that same child-like mischief!
Here are a few tips to keep your confidence high and your risk of getting soggy low:
1. Ebb and flow
Waterways change frequently thanks to seasons and weather so don’t assume a creek will look and feel the same as last time. Just ask Instructor Richard! He learned this the hard way after a big rain turned a babbling brook into a 6 foot deep canal…
I came into it full speed and was stopped dead in my tracks by the surging flow. My bike was swiped right out from under me! I guess you could say it was a “refreshing” reminder not to make assumptions when it comes to creek crossings.
Water also speeds up erosion so exits will vary from ride to ride and something that was previously rock armored may be a loose, sketchy pile of chunder today.
2. When in doubt, scope it out
If you come across a creek in the middle of a pack of riders, give the rider in front of you some space. This will give you a chance to see their line, evaluate whether you’ll take the same route, and give any debris a chance to settle so you can see what’s under the surface. Plus, do you know what happens when you tailgate someone into a creek and they don’t make it across? Neither will you!
If you’re in the front of the pack or riding solo and you’re unsure of the creek’s ride-ability, get off the bike to see what what you’re up against. How deep and fast is water is running and what’s at the bottom? Beware of anything deeper than your hubs. Is there sand, muck, slick rocks, or chunder? All require different tactics to get through just like out on the trail, but with extra resistance and soggier consequences.
3. Pick a line
Right on! You’ve determined that the creek is rideable. Now choose your line through the water noting anything lurking under the surface that you need to avoid. This line should connect easily to your exit route. Take note if your exit has a steep pitch that needs extra power and momentum to boost up or roots and ledges that require a front wheel lift.
4. Pick a method
It’s time to dig into your skills tool box and determine which skill, or combination of skills you will use to cross the water –
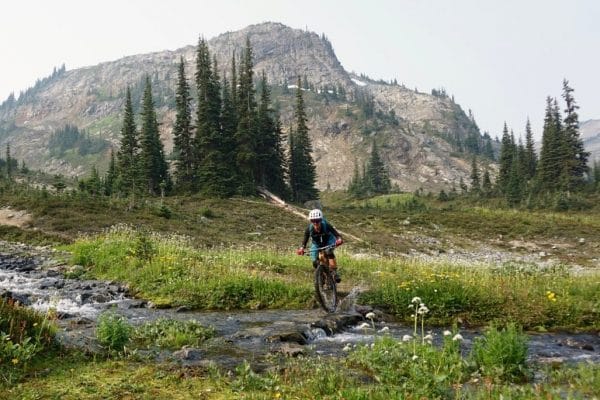
- COAST / For a short or shallow crossing with a smooth base, you can carry enough momentum to get from one side to the other. This option can help you avoid wet feet and pedal strikes!
- PEDAL / Need some extra juice to get across? Aim for even continuous pedal strokes so there is no time for you to stall out mid-stream.
- MANUAL / Is the crossing smooth and short and you have a manual front wheel lift skills in your mountain bike toolbox? Get that front wheel up through the crossing! Not only does it look rad and is a blast, it keeps your drivetrain dry(er) so dirt doesn’t accumulate on it.
- RATCHET / Oh hey, a rock garden! Prepare to ratchet your pedals with slow technical moves to maneuver your way through it.
5. Ready yourself
You have a line, method, and exit strategy – it’s time to execute. Shift to an easier gear before entering the water – with extra resistance and a steep exit you’re going to need all the help you can get. If you’re coasting or ratcheting through a rock garden then be in the ready position so you can recover from anything that tries to throw you off line. If you’re going for a manual, then get that front wheel up before it hits the water and carry your momentum through to the exit.
6. Commit
Keep your head up and your eyes where you want to go – the exit! When it comes to crossing water, whenever possible, straight is best. Avoid trying to turn in the water or use your brakes to reduce your risk of sliding out and going down. A little bit of momentum is your friend. Once you get to the exit, give yourself the extra boost to power out with a few pedal strokes and a forward hip thrust or front wheel lift, if needed.
7. Or… Walk it
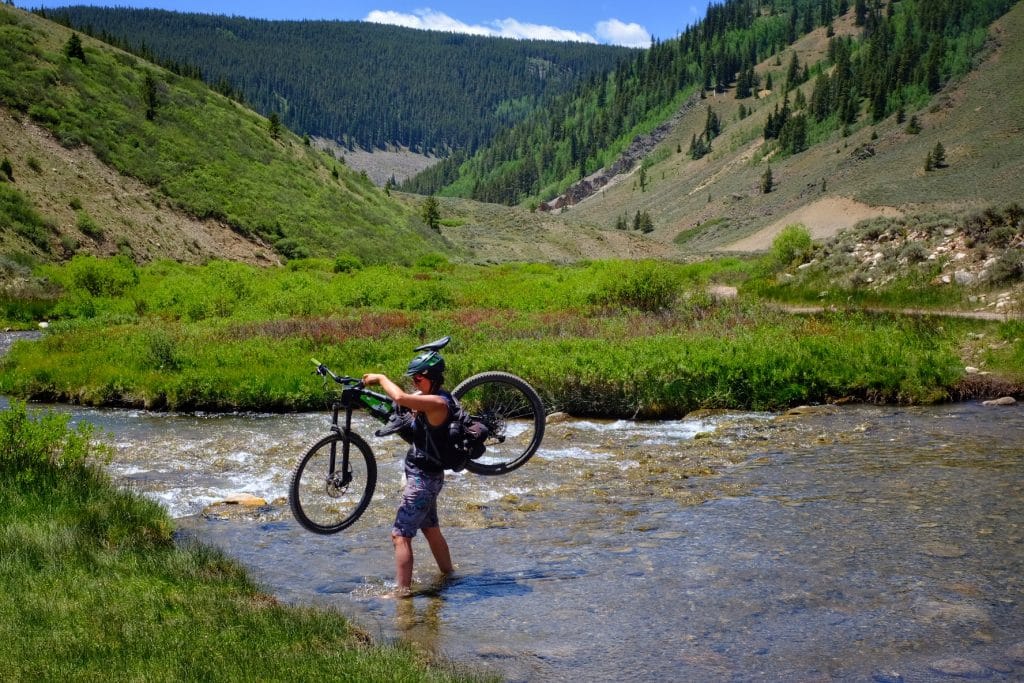
If you’re not feeling confident about the crossing, don’t be afraid to walk it. Pack extra socks for big crossings so you can carry your shoes and wear a pair of socks for traction.
8. Recover
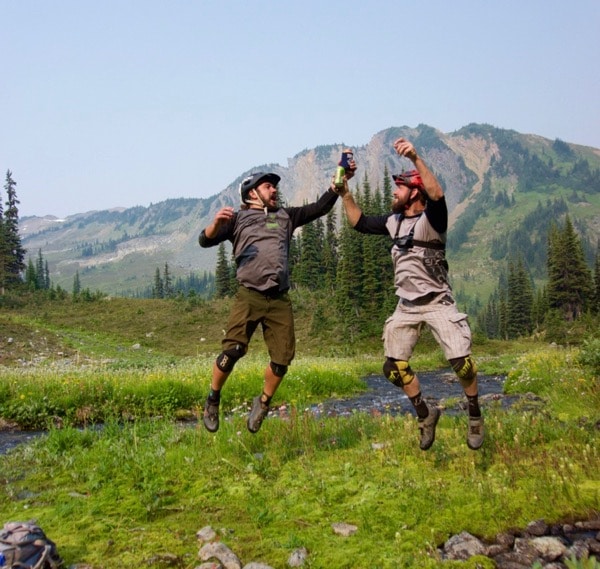
High fives all around whether you manualed, ratcheted, coasted, grunted, toppled over or walked through your creek crossing. Every creek is different and each success and failure will build up your skills toolbox to make you more confident to tackle the next one. Once you’re back on dry land and moving, lightly drag your brakes for a few rotations to dry off your rotors and be on your merry way!
9. So… how bad is this for your bike?
Submerging your pedals and bottom bracket will allow water to get into your bearings so dry your bike and turn it on its side or upside down ASAP to help remove it. Consider investing in a fender to help protect your headset (and your face) and for winter riding, clean and dry your bike off before storing to avoid freezing water expansion on any seals. Lastly, speed up your maintenance schedule for cleaning and re-greasing your bearings to extend the life of your trusty steed!


