
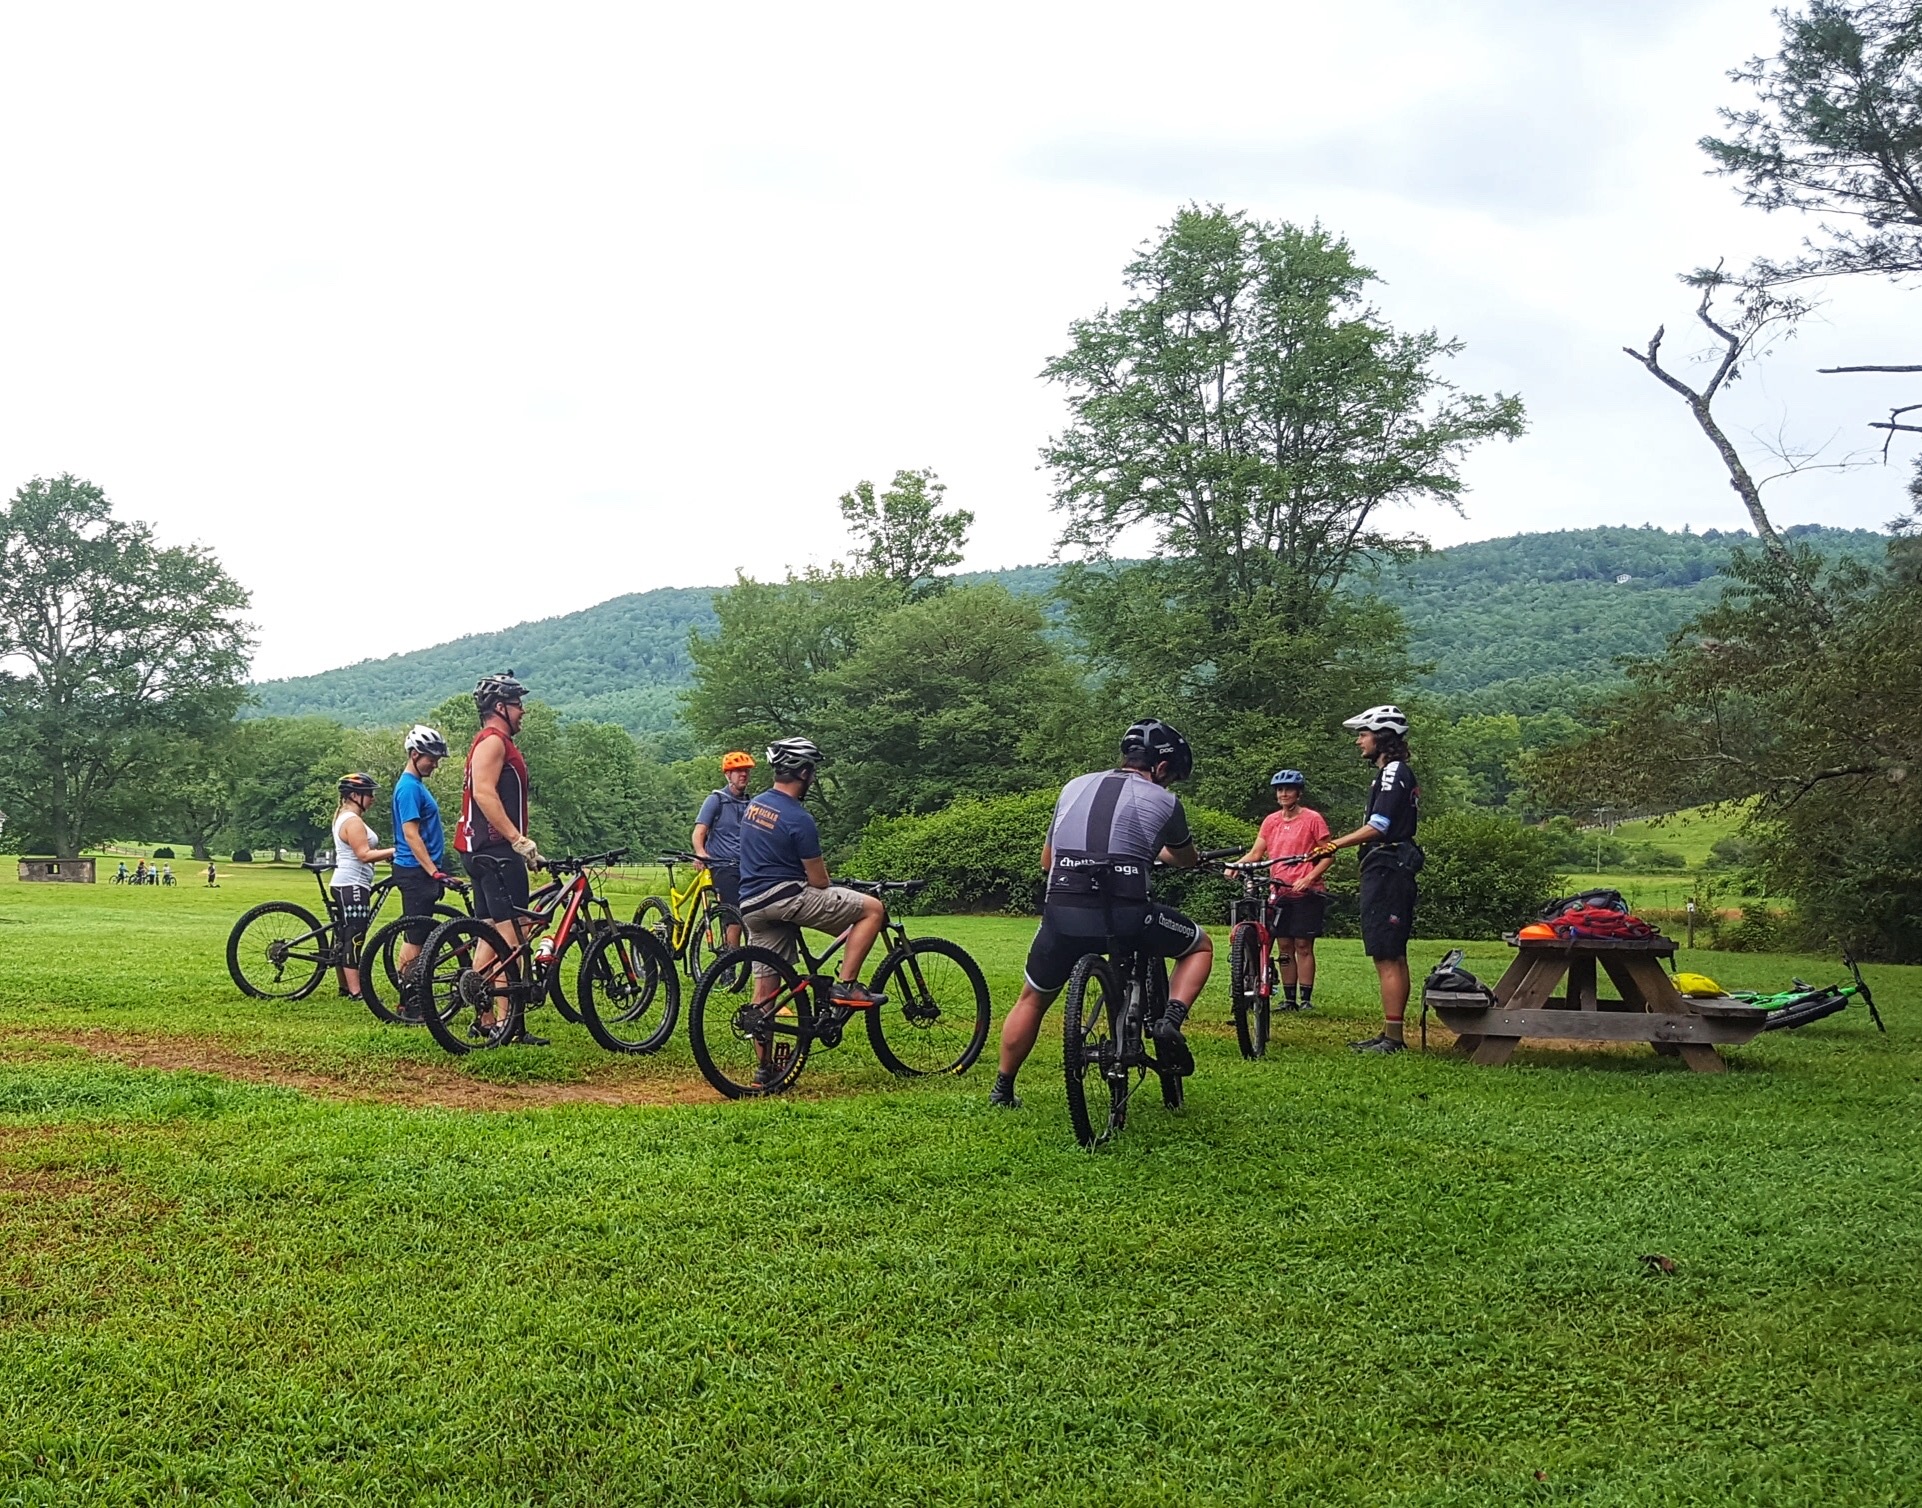
How To Do A Basic Bike Check in 13 Easy Steps
Things on your bike can change from one ride to another – bolts loosen, tire pressure changes, parts wear down – and taking the time to regularly glance over your bike can be the difference between a quick fix vs. a pricey bike shop visit or lots of miles vs. stopping every mile to fix something. If you want to spend 5 minutes looking over your bike before your next ride, then you’ve come to the right spot! This is not intended to be an in-depth guide to bike maintenance, just a starting point for knowing how to look over your rig.
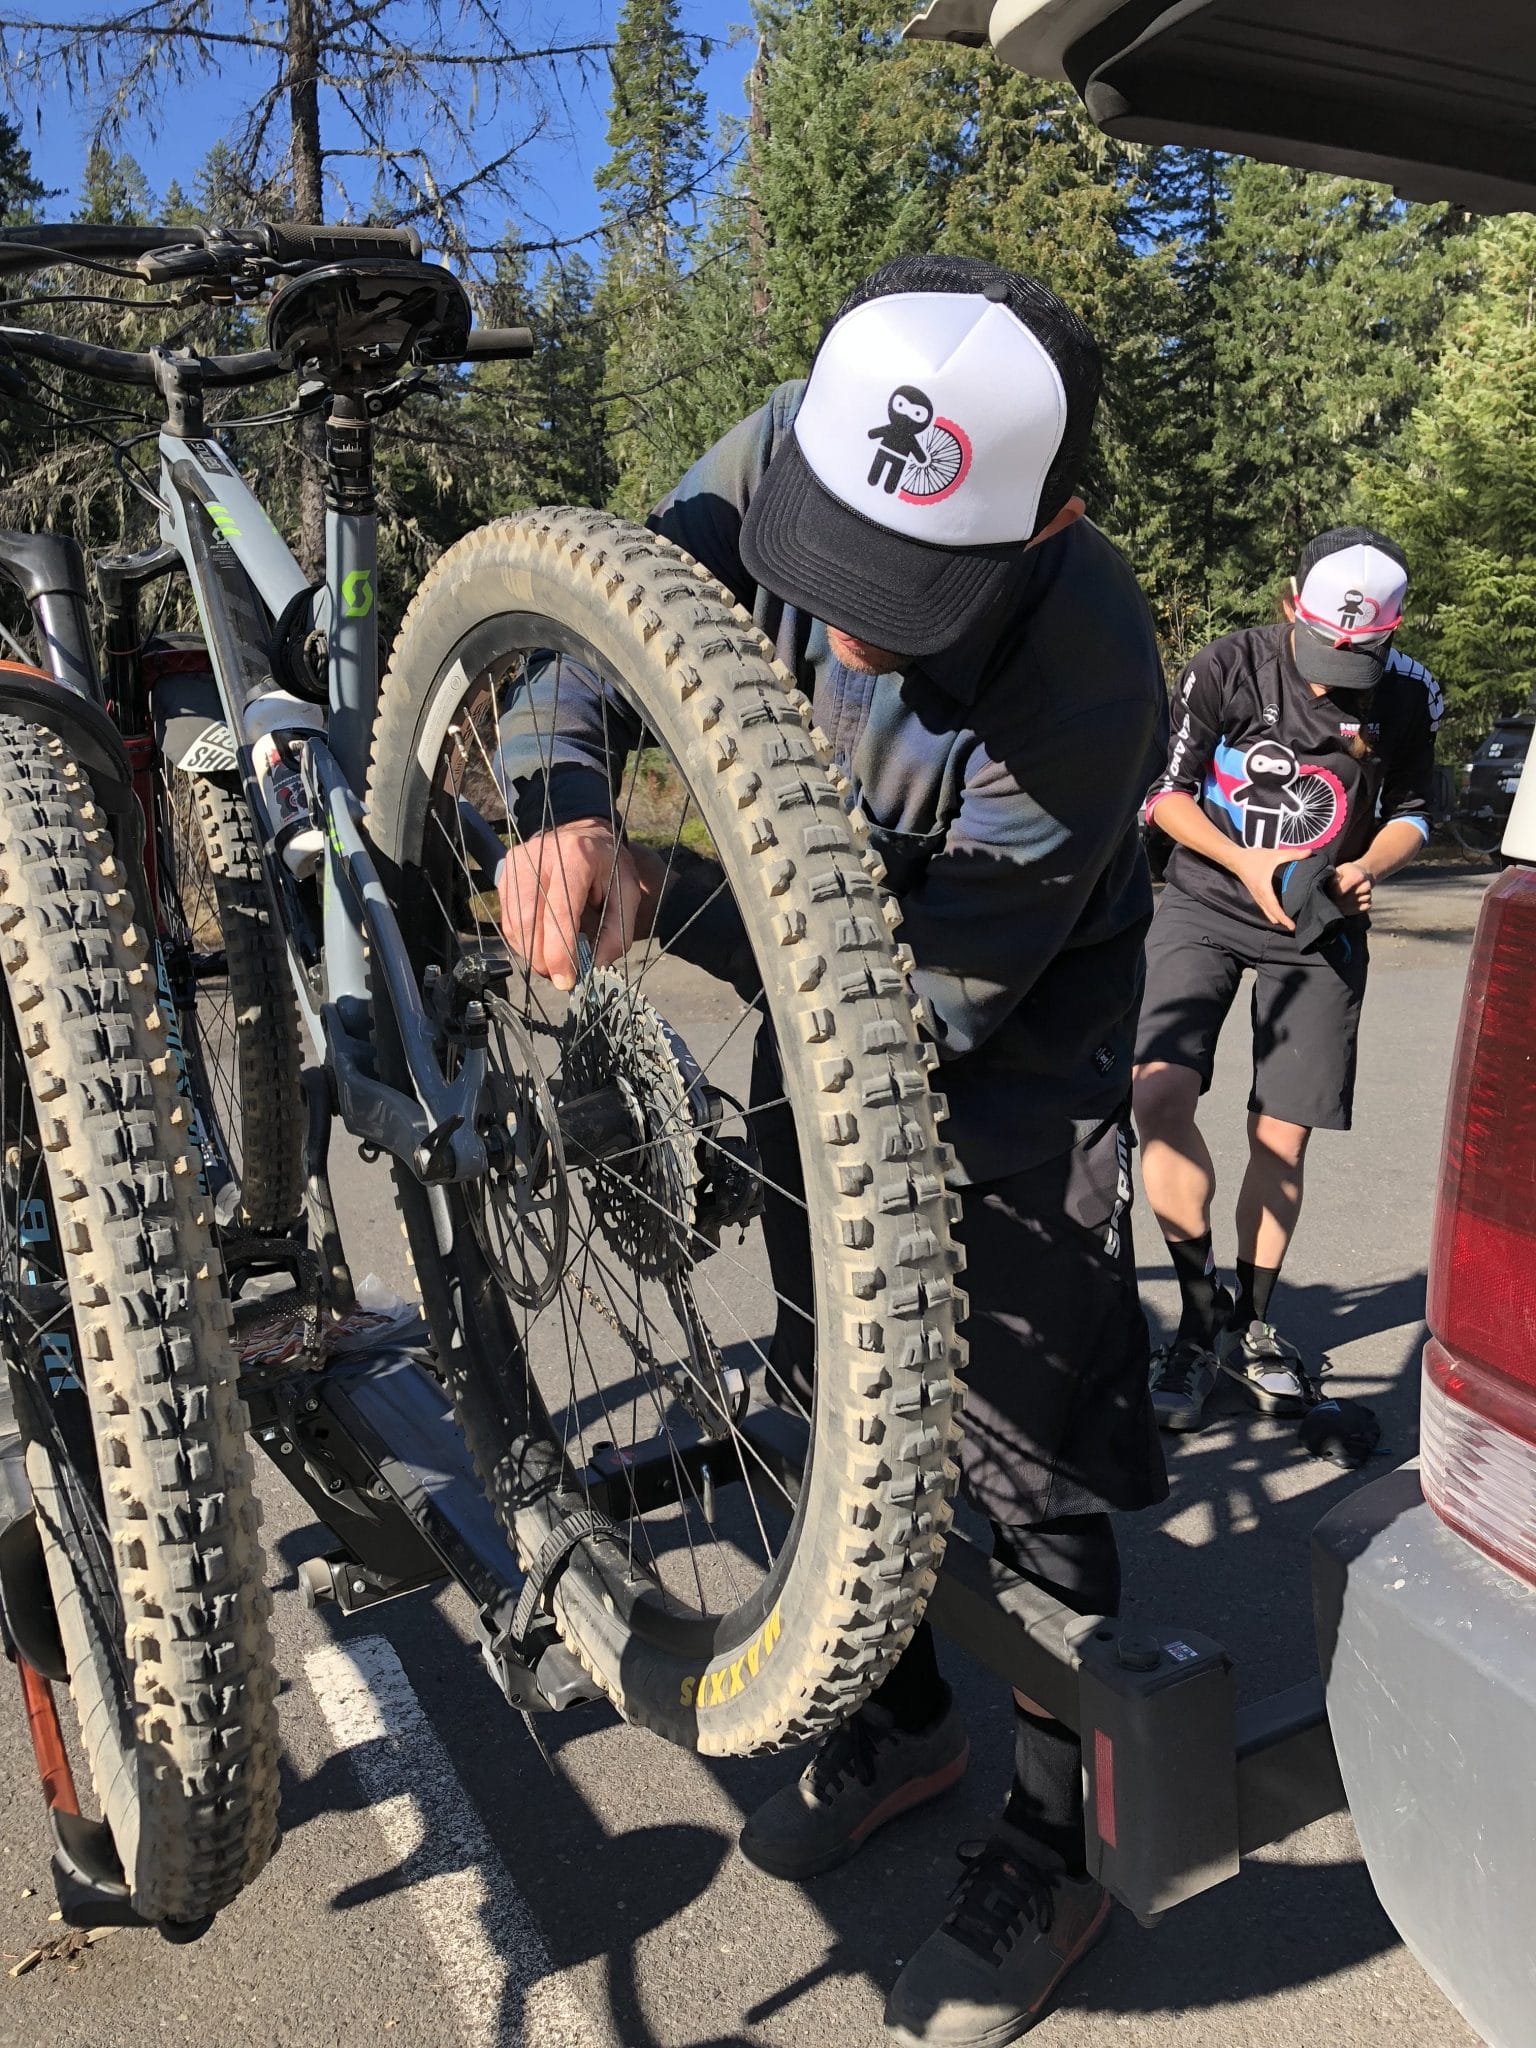
Think of a bike check as a squeeze and wiggle of your bike from front to back, top to bottom. Is something wiggling that should be? Get rid of the wiggle! Are you squeezing something and nothing is happening? Time to fix the squeeze! Unless you are an expert trail-side mechanic, we recommend checking your bike with enough time to stop by your local bike shop for any necessary tweak or repairs.
Write these down, print them off or commit this list to memory; it’s time to get to bike checking!
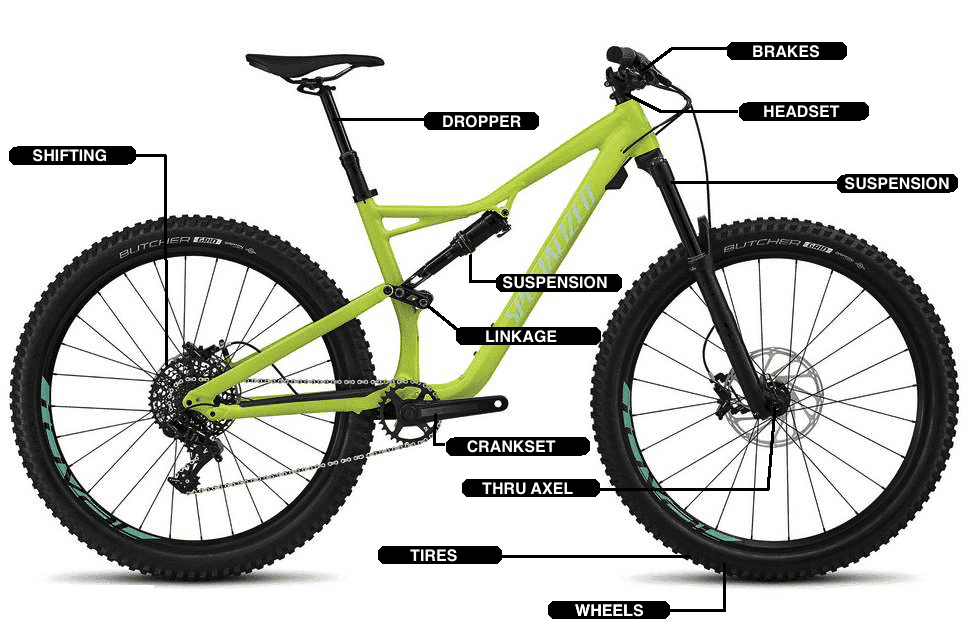
- Is your TIRE PRESSURE set correctly?
- Is there any play in your HUBS or THRU AXLE?
- Are there loose, detached or missing SPOKES?
- Are your front and rear BRAKES working?
- Are your WHEELS free spinning and not rubbing?
- Is there play in your HEADSET?
- Is your SUSPENSION and REBOUND setup correctly?
- Is your REAR LINKAGE tight?
- Is your DROPPER going up and down as it should?
- Is there any play in your CRANKSET and/or BOTTOM BRACKET?
- Are your PEDALS spinning freely?
- Is your bike SHIFTING smoothly and is your chain lubed?
Not sure exactly how to check the above items? Here are a few tips for how to check the above items and what to look for.
1. Tire Pressure
To get the most accurate tire pressure, use a floor pump with a gauge. As you learn what your preferred pressure feels like, you can test by hand (push on the tire with the palm of your hand to feel for squish or lack-thereof). Too much pressure? Let just a little air out at a time. Too low? Grab that hand pump from your pack and add a bit of pressure. The “right” tire pressure is different for every rider and ride; it depends on the bike and tire setup, the weight of the rider, trail conditions, personal preferences, etc. This check it intended to to make sure you’re in the ball-park of where you’d like the pressure to be.

2. Hubs & Thru Axle
Check for any play in the hubs and/or thru axle. To do this, grab your tire from the top and move laterally side to side and make sure the wheel isn’t loose in the fork or frame. If something feels loose, it is usually one of two things – either your thru axle is loose or your hub bearings may be worn. The former is the most likely. Don’t rely on your friends to put your front wheel on correctly – no one wants their front wheel comings off mid-manual!
Make sure to do this check for both the front and the back! If something feels loose in the back, it could be a loose thru axle, hub bearings OR the bolts that connect the rear triangle and suspension together might be loose or need replacement.
3. Spokes
Quickly run your fingers over the spokes on your wheel – is anything loose, detached or missing? If you find that one spoke is just a little loose, you can carefully tighten with a spoke tightening tool. Be very careful not to over tighten as this could affect the wheels trueness! If just one spoke is detached or broken, you can wrap it around another spoke and you should most likely be good for one ride (depending how many spokes you have). In the end, damaged spokes can impact the integrity of your wheel and should be looked at by a professional bike mechanic as soon as possible.
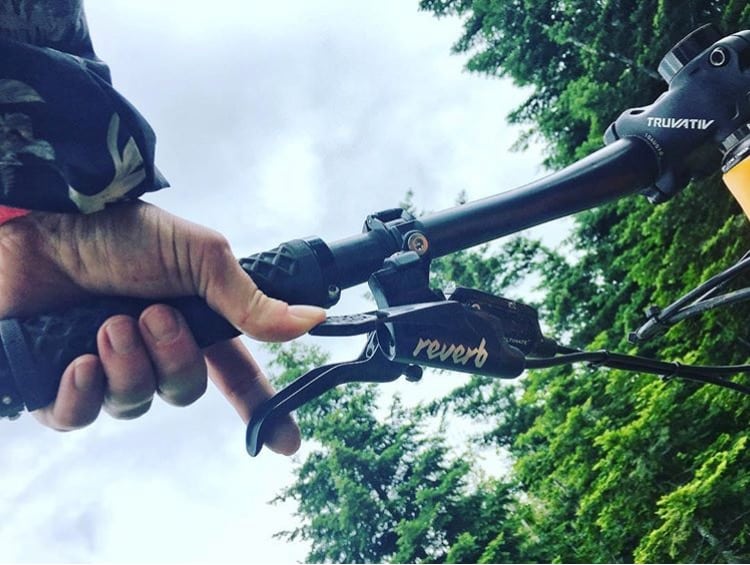
5. Brakes, Front & Rear
Being able to effectively slow and stop your bike is a pretty important part of riding. Check those brakes! First, is your brake lever position setup correctly? Can you easily reach the brake lever with your index finger? Next, is everything stopping as it should be?
Make sure you test the brakes independently of each other. To do this, start by squeezing your front brake and rolling the bike forward. Does the bike come to a stop? Next, squeeze the rear brake and roll the bike backwards. Does the bike stop? When’s the last time you replaced your brake pads?
6. Spin wheels, free and not rubbing?
Make sure the wheel spins, is relatively true and the rotor isn’t hitting the brake pads on every revolution. If it the rotor is just barely hitting, you can likely get away with pedaling on. If you are mechanically inclined, you may be able to adjust the brake caliper position and/or bend the rotor back closer to true. For those of us non-mechanically inclined folks, time to go visit your mechanic..
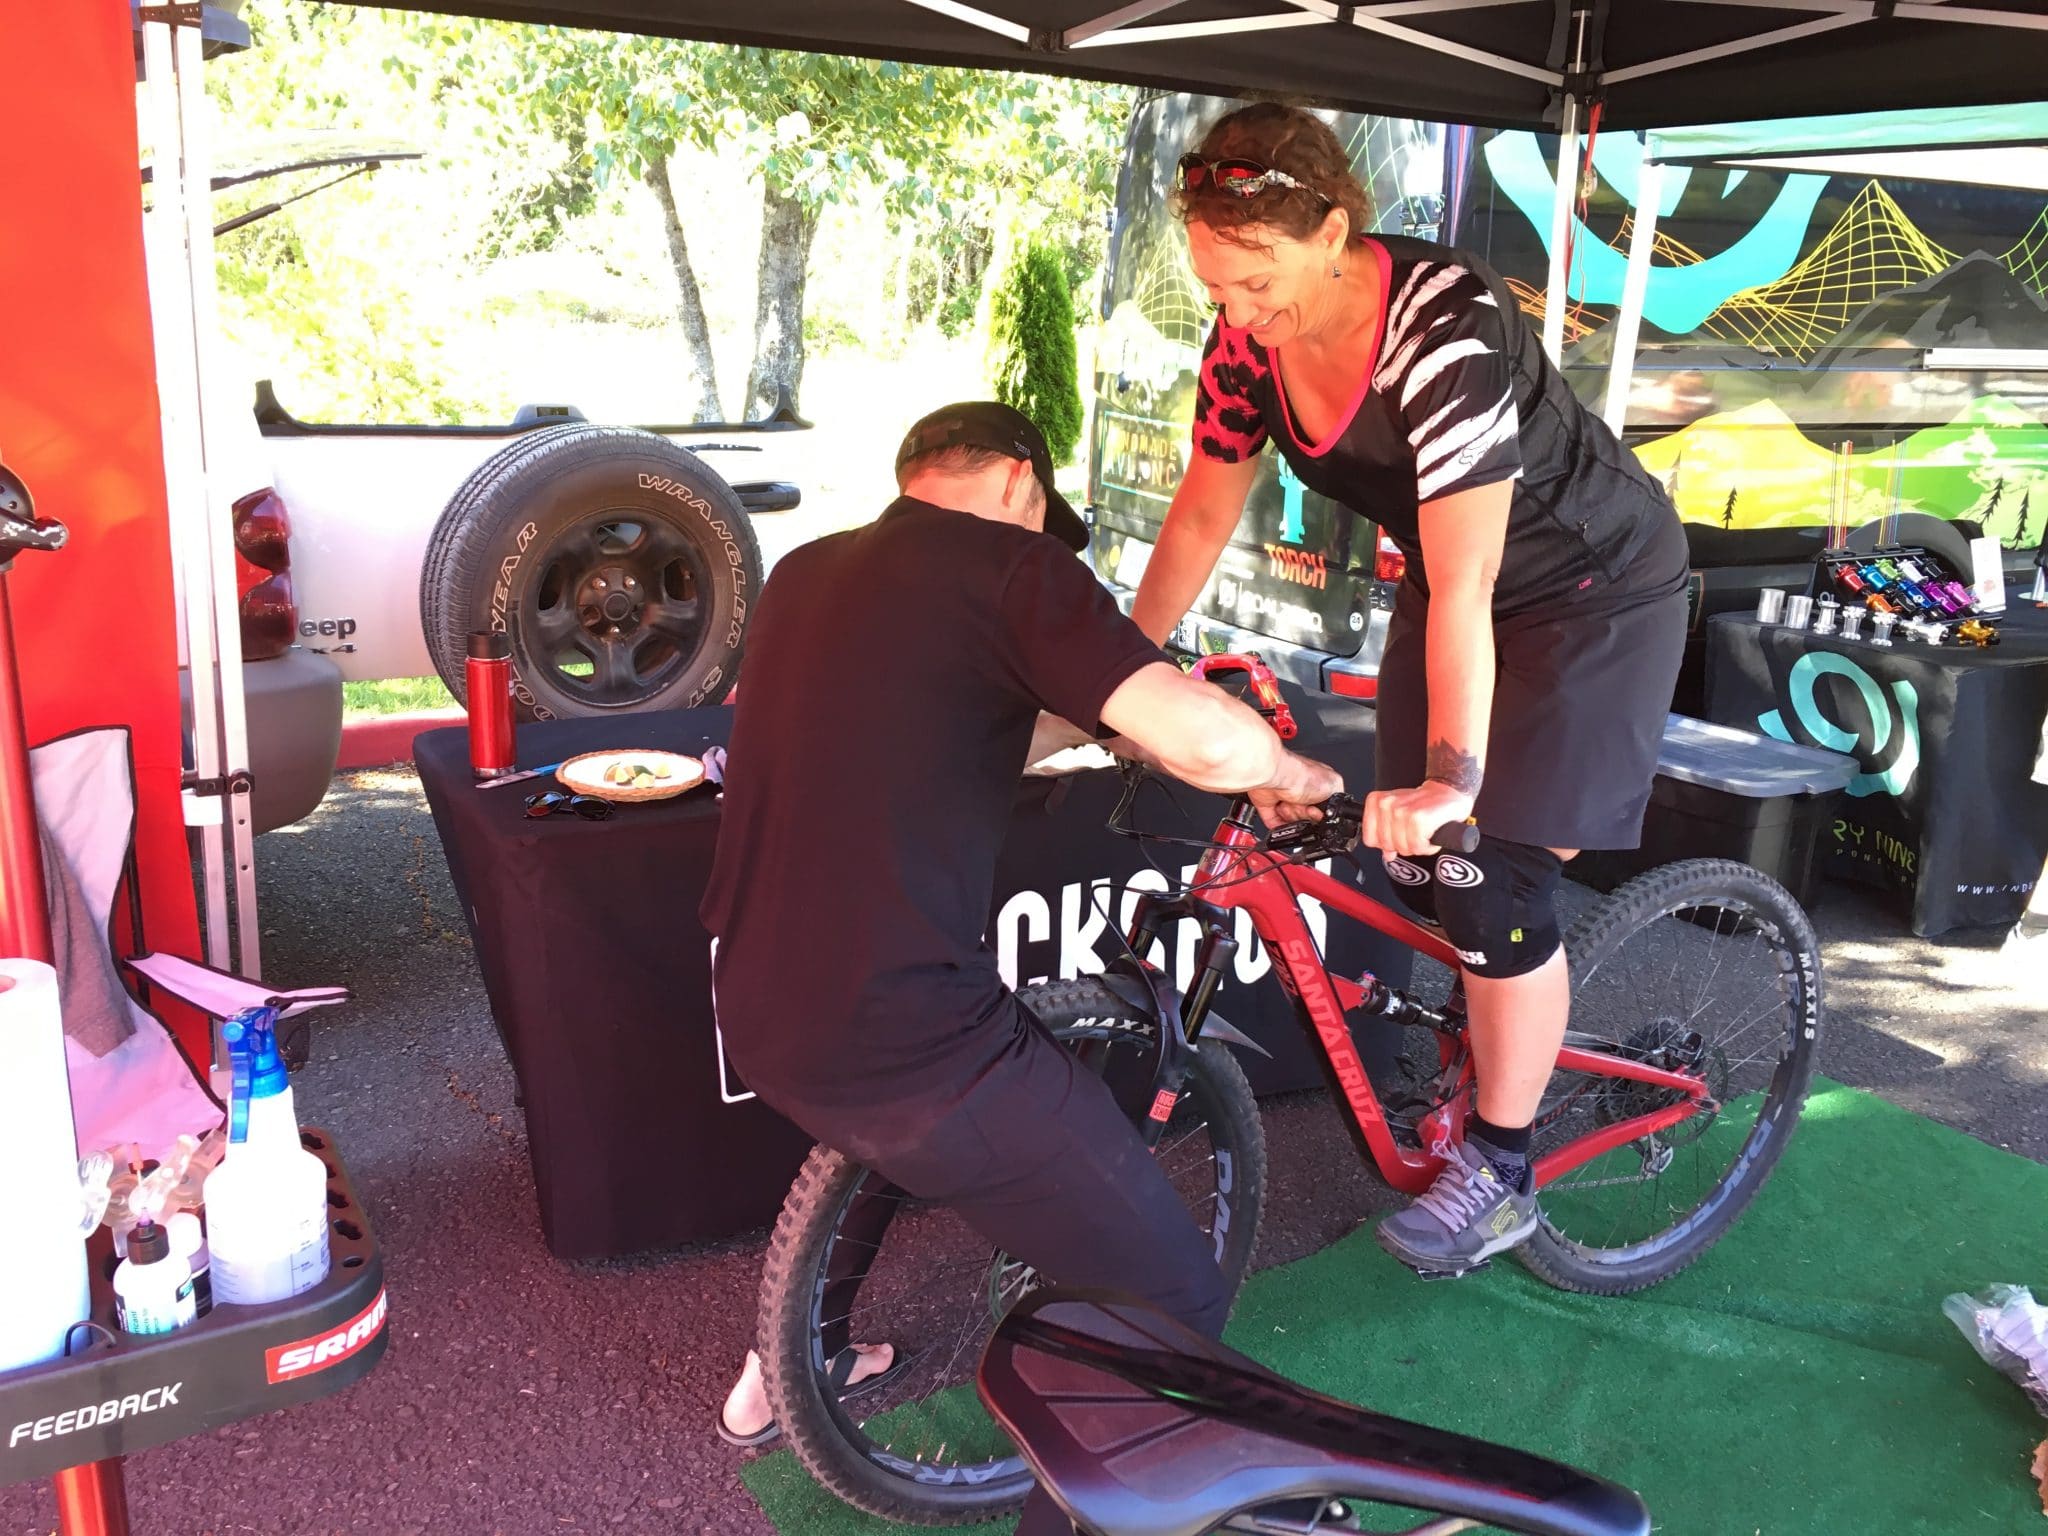
7. Headset
To make sure everything is snug in your headset, place your right hand over the headset while grabbing your front brake with your left hand, rock the bike back and forth. Do you feel any place in the headset? If yes, start by loosening the bolts on the side of your stem, then (and only then) tighten the top bolt until the play is gone. Then re-tighten the side bolts (it’s critically important that you tighten these bolts within manufacturer torque specifications; a portable torque wrench is a wise investment). Over-torquing can result in your stem failing or too much downward pressure on the headset bearings!
8. Suspension and Rebound
First thing we recommend checking here is your sag. To do this, sit on your bike in your ready position with all your gear on (for accurate riding weight). Make sure your suspension is in the full open position for this. Look at your suspension and the rubber o-ring to see how much of it is being used in this ready position. Generally speaking, if around 25% of the suspension is being used, you are good to go. This is a quick trail check but by no means comprehensive. If you want to dive into a more complete suspension setup, grab a cup of coffee and a notepad, and read this article.
Confirm your compression and rebound speed is set at the same rate for both your front and rear shock by compressing them independently of each other and watching how quick they go down and rebound back. Again, more detail here.
9. Rear linkage, tight?
Check for play in your suspension linkage. If “suspension linkage” means nothing to you, we are talking about the bolts and pivot points that connect your rear triangle to your suspension and frame. If you find something is loose, you may be able to snug it up quickly with your multi tool. Or, you may need a more extensive repair to replaced the bushing and/or bearings. Once again, be mindful of the torque settings. These numbers can be found on the manufacturer’s site or manual.
10. Dropper
You’ve got a dropper post – now wouldn’t it be nice if you could use it? If you’ve ever had a dropper post fail mid-ride, you know how much this sucks. So, make sure your dropper post is going up and down as it should! If not, adding air to your manufacturer specification might solve the problem or it might be time for a dropper service at your local shop. By the way, expect it to move slower in cold weather!
11. Crankset / Bottom Bracket
While holding on to one of your cranks, move it back and forth laterally and check for any play in your crankset and bottom bracket. In the event of either, your best bet is a visit to your local mechanic. Unfortunately, this is not an easy trail side fix.
12. Pedals
Go head and give your pedals a quick spin. Are they spinning freely? For those who ride clipless, check for any debris in the pedals, including the spring and locking mechanism. While you are at it, double check the cleat on the bottom of your riding shoes. Is everything snug and ready to clip-n-go?
13. Shifting
Before hitting the trails, jump on your bike for a quick spin around your driveway, parking lot, or living room (don’t tell mom). Shift through your gears. Is anything skipping, clicking or flat-out refusing to shift? A quick barrel adjustment might get things purring again. And of course, don’t forget to lube your chain!
All things you want to address before pedaling off into the sunset. Check, check, check? Ride on!


You are missing the most important point: your cockpit. Handlebar, stem, fork steerer connections. And everything on the handlebar: grips, shifter bolt, brake bolts.