
The Most Important Position – Ready Position
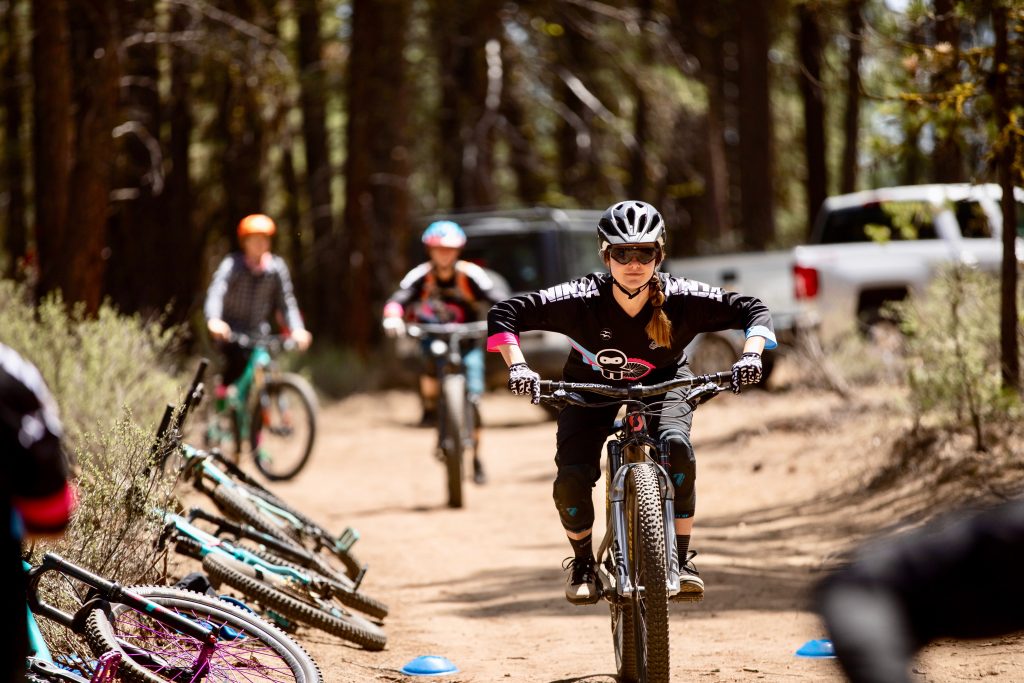
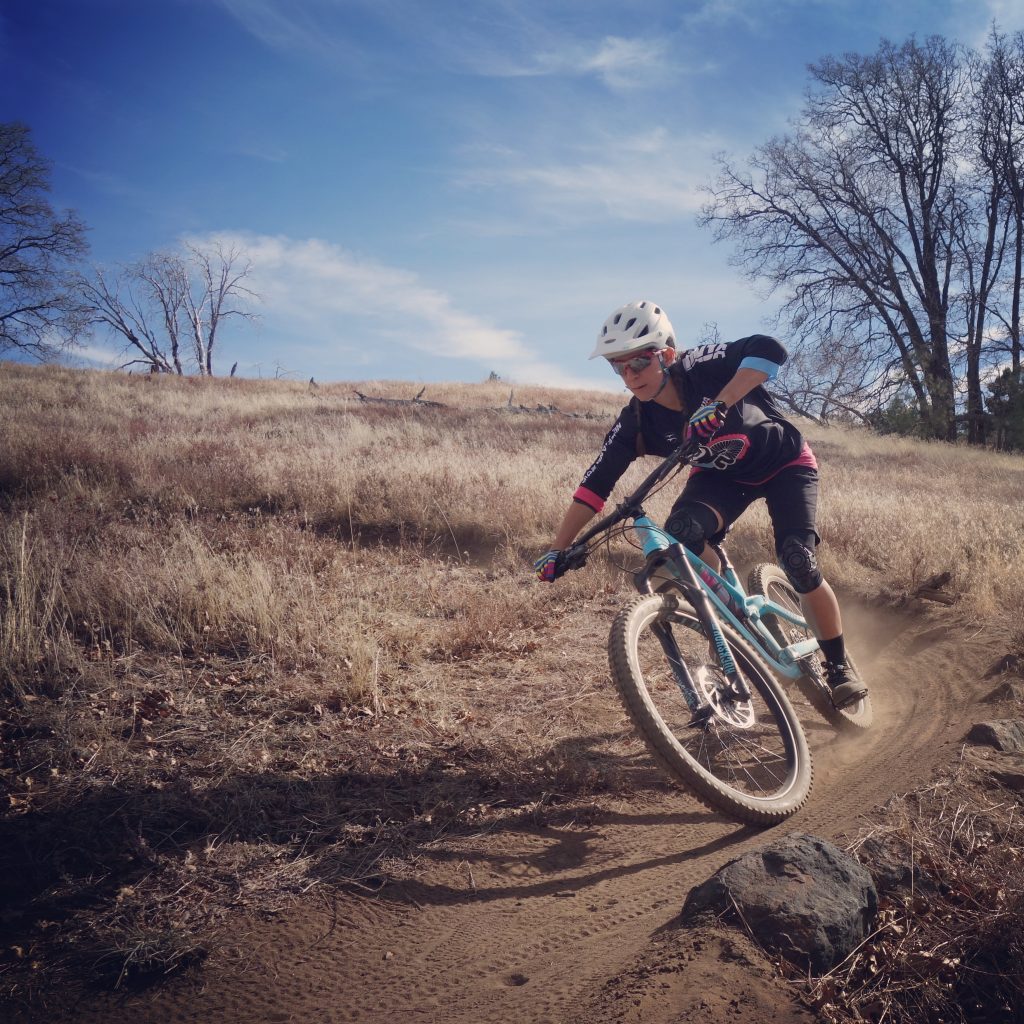
At the heart of every tremendous mountain biking trick you’ve ever seen on the trail, in that sick edit, or read about in a magazine is one common theme: The Ready Position.
If good riding is a house, then the Ready Position — or “Ninja” position, as we’re fond of calling it — is the foundation. Every other skill is built around this one seemingly straight-forward thing. So let’s break it down, from bottom to top.
1. Even Weight on Your Feet
Make sure you have equal weight on your pedals. Whether climbing, descending, or just plain riding along, if you were to put a scale under each of your pedals, the weight should come out equal.
2. Knees Bent and Out
Keep your knees bent to allow the bike to move up and down under you — basically, your legs are your suspension. Your bike moves up and down beneath you and it also needs space to move side to side, as it does if you were leaning in a corner. With your knees out, you can lean the bike that much farther; the other way and you can’t lean it at all.
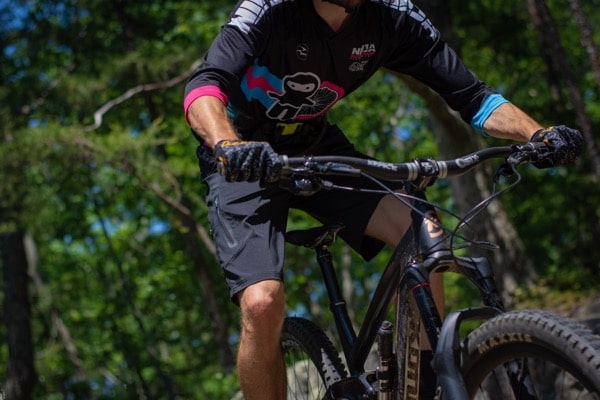
3. Bum Off The Saddle
The only way your big, beautiful suspension system (your legs) can work is if it’s open and active. Putting your bum on the seat effectively means you’re “locked out.” To keep up with varying terrain, and to work the bike, you’re going to need your bum out of the saddle.
4. Torso Down
The lower your torso, the lower your center of mass, and the more stable you’ll become. Lowering your torso also makes room for your arms to lean the bike into ever-tighter corners. If things start to get squirrely, we’re betting it’s your torso that’s crept up on you.
5. Elbows Bent and Out
You’re much stronger with your elbows out, rather than in. Don’t believe us? Try doing pushups — two with your elbows out, two with your elbows in. With them out, you get to use biceps, triceps, chest, and back to support your riding and share the load. With them in, you have only your triceps to work with. Bending your elbows also helps protect your space, and you’ll get more extension in cornering, too.
6. One Finger on the Brake
Part of being “ready” is being ready to stop. On the trail, whether uphill or downhill, things can change very suddenly so having your index finger on the brake, ready for action is a must. But thanks to the power of modern brakes, you only need one. Save your other three fingers to maintain a good grip on your handlebars.
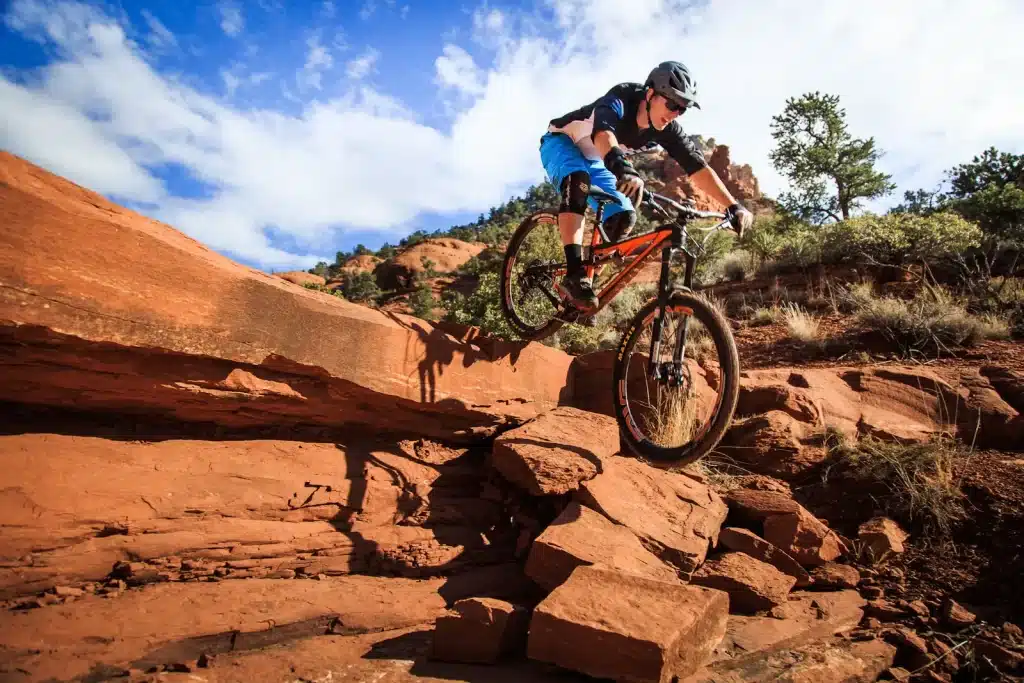
7. Head Up
“Look where you want to go,” is some of the oldest advice in mountain biking. Also its companion piece, “don’t look where you don’t want to go.” With your head up, you’ll be able to see where you’re going. We recommend keeping your head up and looking down the trail while making quick scans to what is immediately in front of you. It’s too late to do much about the obstacles under your wheels. Looking — and thinking – ahead are key to flowing down the trail.
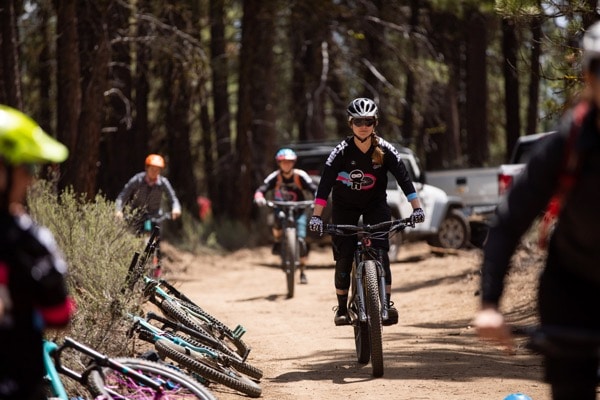
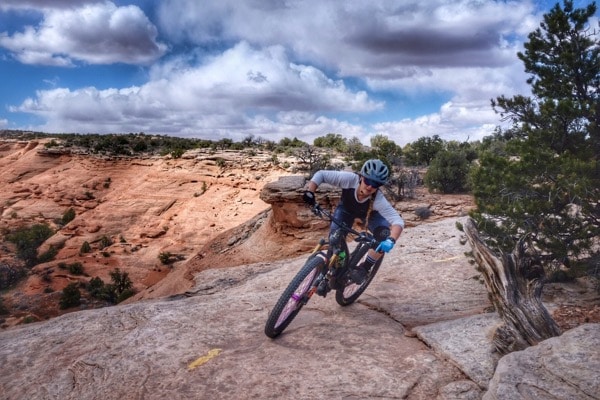
Neutral Position
Ready Position is used any time you’re out on the trail and need to be “ready.” Now meet it’s counterpart, the Neutral Position. This is similar to the ready position, but feel free to put your bum on the saddle, sit up, relax and even grab a drink or a snack. Ready Position is what you use to shred glorious singletrack and Neutral Position is how you roll back to your car at the trailhead parking lot.


Great article. As a “beginner” these really help me a lot. I do question “being stronger” with elbows out. The further from your body a “joint” gets (elbow) the weaker you become. I do agree that you have more control with elbows out. More planes of movement, but not stronger. Love your articles! Can’t wait till spring. Built a Knolly Fugitvive late last fall, super excited about the upcoming season. Keep up the great work!
Hey Troy!
So glad you are enjoying the articles – we love hearing that these are helping you with your riding.
When I think about having my elbows out in my ready position, I think about doing a push-up at the gym. When I try to do a push up with my elbows tucked in at my side, I’m using primarily my triceps, and it’s hard. When I bring my elbows out and give myself a wider platform for the push-up, I start to engage more muscle groups including shoulders and chest, where I’m much stronger. Riding a bike is pretty much doing mini pushups on repeat! Hope that helps to explain the added strength you get from the wider arm stance.
Brand new rider just started about a month. Truly enjoyed this article have been trying to work on technique!