
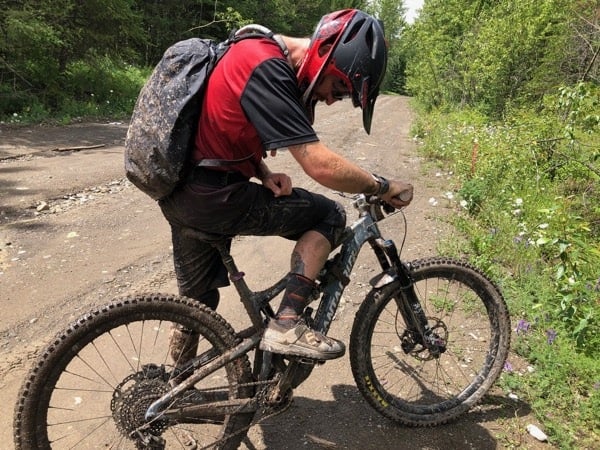
There’s something disheartening about a dirty bike. You cringe at the creaks and grinds, avert your eyes from the grime, and roll out for a ride with shame that you haven’t maintained the machine that brings you so much joy. Good news: you’re just 5 steps away from breathing new life into your bike and riding with pride again!
1. Prewash
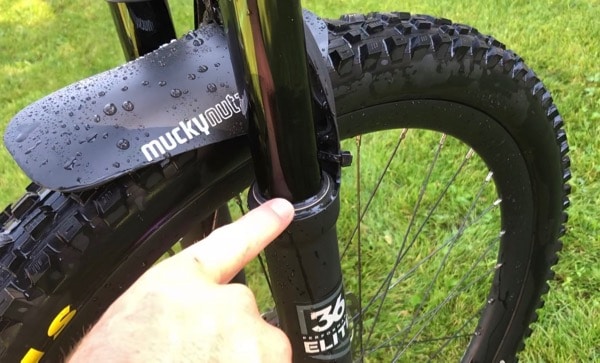
Set the stage before you begin. Make sure your bike is stable, the hose is ready, and all your cleaning supplies are close by. You can use a clean, soft rag to wrap your seat post in if you’re putting it in a work stand – it minimizes the risk of scratching your dropper post.
Never use high pressure! A backyard water hose is best and you definitely want to steer clear of the car wash. That high pressure forces water into your seals and bearings where it will wreak havoc and cost you money later. While it may be satisfying to erase dirt with that strong blaster, it’s much better for your components to take it easy. Use your thumb to flick the bigger chunks of mud off, you don’t want that grit and gravel in your brushes where it can scratch something later.
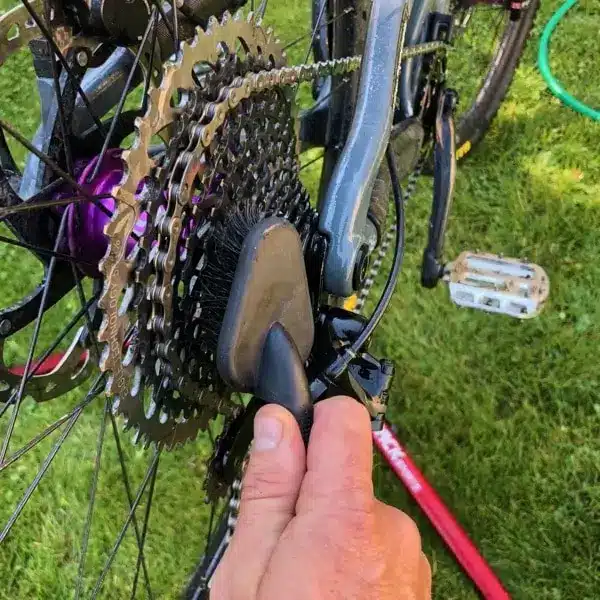
2. Degrease
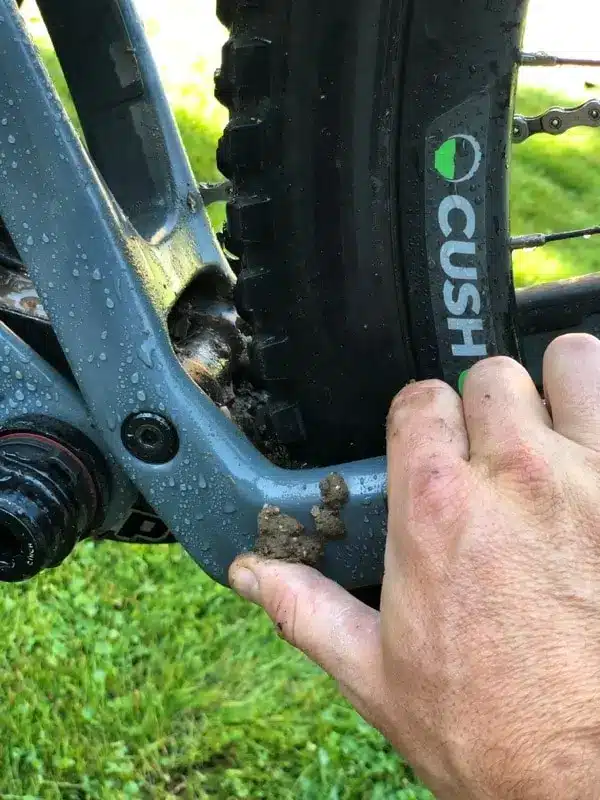
Use a quality bike-specific degreaser to clean your drivetrain. Dedicate a brush to this part of the bike and make sure you get all that grime off your derailleur’s pulley wheels and the cassette. Don’t forget to clean around your chainring, cranks, and suspension linkage, too. I’m a big fan of the chain scrubbers – they help prolong the life of your chain and drivetrain components.
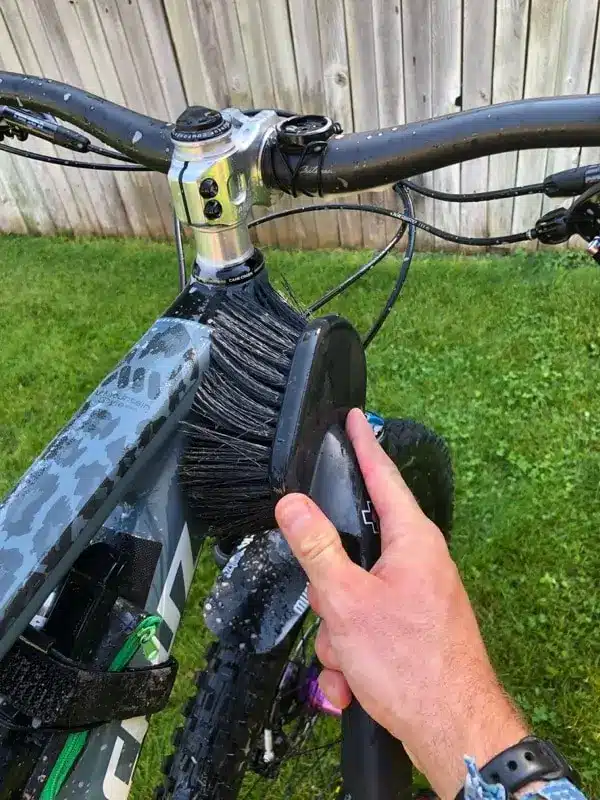
3. Cleaning Time
Before you ever touch the bike with a brush, rinse it out thoroughly. Particles can get in those bristles and really scratch things up. Use a quality soap and clean brush to scrub the bike down. I start with my suspension components and controls, then move on to my frame, saving the wheels for last. Rinse your brush out often because the dirt you’re scrubbing off the bike is going into that brush, so clean it out! Try using a smaller detailing brush to get into those hard to reach spots.

4. Rinse & Inspect
Rinse everything thoroughly and check for any missed spots or stubborn dirt. Check for frayed cables, bent pedal pins, loose bolts, and make sure everything looks to be in good working order. Inspect your bike often to make the necessary repairs – it may save your next ride from being a dud!
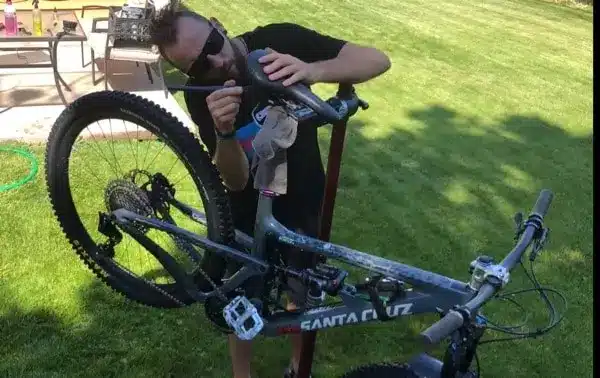
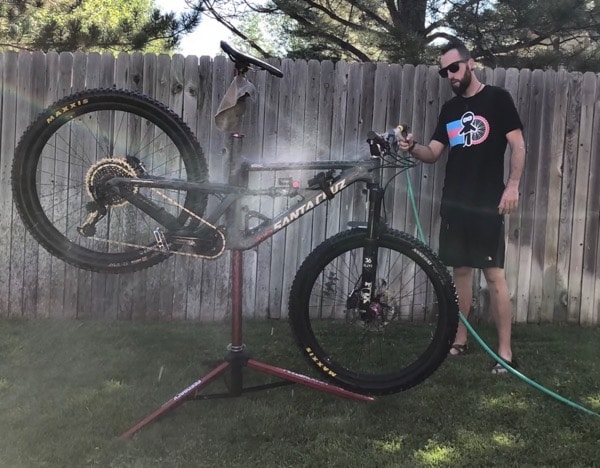
5. The Finishing Touches
Use a clean, soft towel to dry everything off. Water is the enemy, so take your time, dry around all the seals and bounce the bike a few times to shake out any lingering drops.
For an added bonus, try some of the great bike detailing supplies that are available. It is absolutely crucial that you keep your brake rotors covered if you use any sprays or waxes – any contamination of those brake parts will cause major issues.
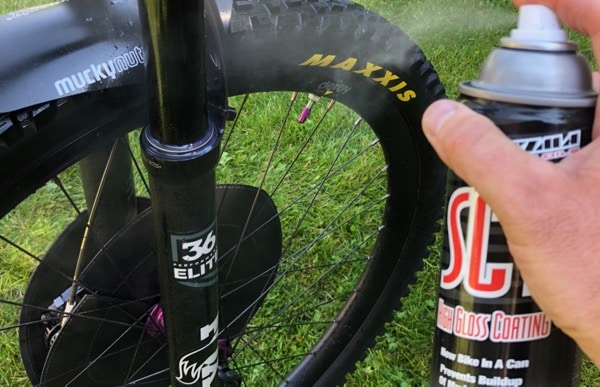
My favorite detailing sprays are a water dispersing lubricant that I use for the drivetrain and a silicone-based spray that really makes the bike shine. Not only does it bring out the bling, it protects the finishes of the frame and suspension helping everything operate smoothly and repels dirt or mud on future rides. Finally, lube your chain and wipe away the excess.
Now… enjoy!
Congratulations, your bike looks as close to new as it ever will! A clean bike feels fantastic with everything moving freely and silently (like a ninja!). Now that your bike is looking fresh, it’s time to gear up in your favorite kit, hit the trails, and ride it with pride.

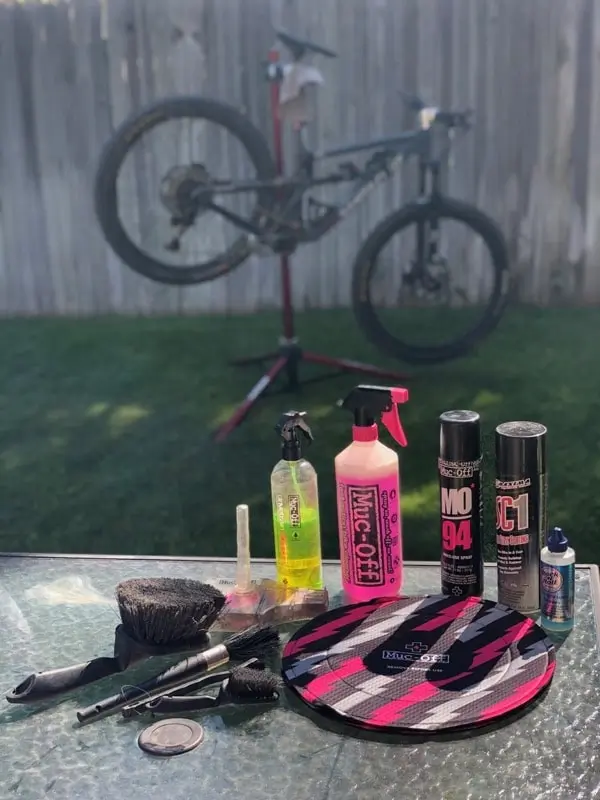
My Favorite Products
- Cover with Muc Off Disc Brake Covers $29.99
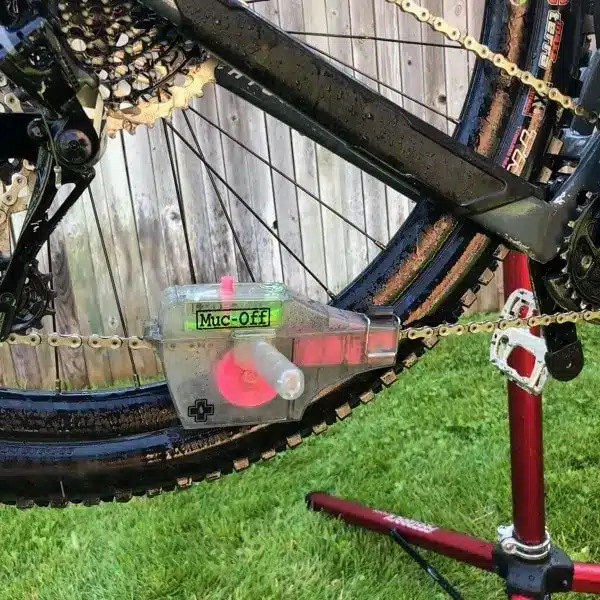
- Degrease with Muc Off Bio Drivetrain Cleaner $19.99 and X-3 Dirty Chain Machine $34.99
- Clean with Muc Off Nano Tech Bike Cleaner $14.99
- Protect with Muc Off MO94 $9.99 on the drivetrain and Maxima SC1 Silicone Spray on the frame $10.50


Good article. I used to wash my bike after very ride. Now I only wash it every 3-4 weeks. For the frame, I use Muc-Off. It works great and gives my bike a showroom shine. For the drivetrain, I use Simple Green. It’s environmentally friendly and is citrus based. To dry off my bike, I use a soft chamois. Nice to know I’m not the only person bouncing their bike to get the extra water out!
use leaf blower to get rid of water. easier and no knuckle scuffs
Since I’ve lived in a townhouse community, that’s the only thing I use my “leaf blower” for :-). Not only no scraped knuckles, but blows water from areas you can’t reach with a chamois.
Also: great article!
Good idea, never thought of that. I should of read this before washed my mtn and road bikes yesterday!
What’s the product in the photo where the fork is being sprayed? All I see in the text is “silicone-based spray.”
Hey J.R.
We’ve added all of the products that Jeremiah uses to the end of the article – the silicon spray is Maxima SC1.
Happy washing!
Wow, this sounds like a lot of work. Here’s my routine:
Bounce bike a few times to remove loose mud or dirt.
Wipe off seat post and fork stanchions.
Wipe chain thoroughly.
Lube chain (I recommend chain lube).
Wipe chain thoroughly.
A good article. I want my car to be shiny all the time, so I give it a regular wash. After each of these, I usually use a silicone polish to polish the bike frame, so that I can make sure the dirt doesn’t stick to the bike’s surface easily. Oil all the links and wipe off the excess to prevent dirt from accumulating. This is probably a great way to polish and clean mountain bike chains.
Use oil or degreaser on your drivetrain and chain. Apply oil to all the chain links, and wipe off the excess to prevent dirt from coming in. It is a great way to polish and clean a mountain bike chain.
The trick is to ride so fast the the muck and grime does’nt have a chance to even stick right! …..Ayyyyyzzzzzzz! 🙂
Really though, I only use soft water spray from the garden hose, Lemon Joy dish liquid or simple green, (takes off grease and oils and grit easily, rinses clean) a stiff nylon brush for drivetrain and a soft nylon toilet brush for the rest. Bounce it a couple times then wipe it down with a cotton towel.